
Last update : December 7, 2014
Today I installed the BlackBerry Desktop Manager Version 5.0.1.37 (march 10, 2010).
This dashboard offers the following functions:

BlackBerry Desktop Manager
- Media Sync (synchronise iTunes or Windows Media Player music with BlackBerry device)
- Application Loader (add or remove applications, update software)
- Backup and Restore (backup or restore device data)
- Device Switch Wizard (transfer data from one device to another : BlackBerry, Palm or Windows mobile)
- Synchronize (synchronize email and organizer data)
- IP modem (set up BlackBerry device as a wireless modem for internet access)
The desktop manager works with my three different BlackBerry devices : 7100v, 8100 et 9000. It does not support my new Blackberry Z10.
The firmware and microedition versions are shown below :
 7100v
|
 8100
|
 9000
|
My desktop manager was updated in 2011 to version 6.1.0.35 (Bundle 34), released on June 7, 2011, in 2012 to version 7.0.0.59 (Bundle 60), released on May 17, 2012 and recently to version 7.1.0.41 (Bundle 42), released on March 26, 2013.
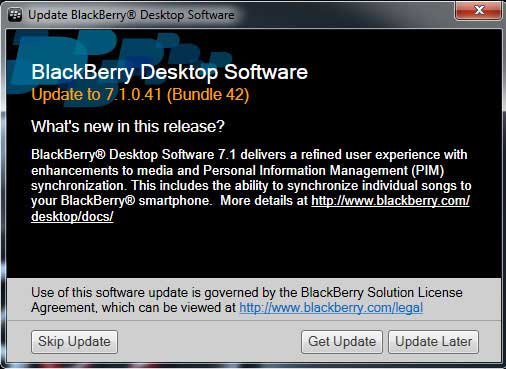
Screenshot of the Blackberry update window
With my Blackberry Z10, the Blackberry Desktop Manager was replaced by Blackberry Link, the latest version 1.2.3.56 was released on July 3, 2014.


